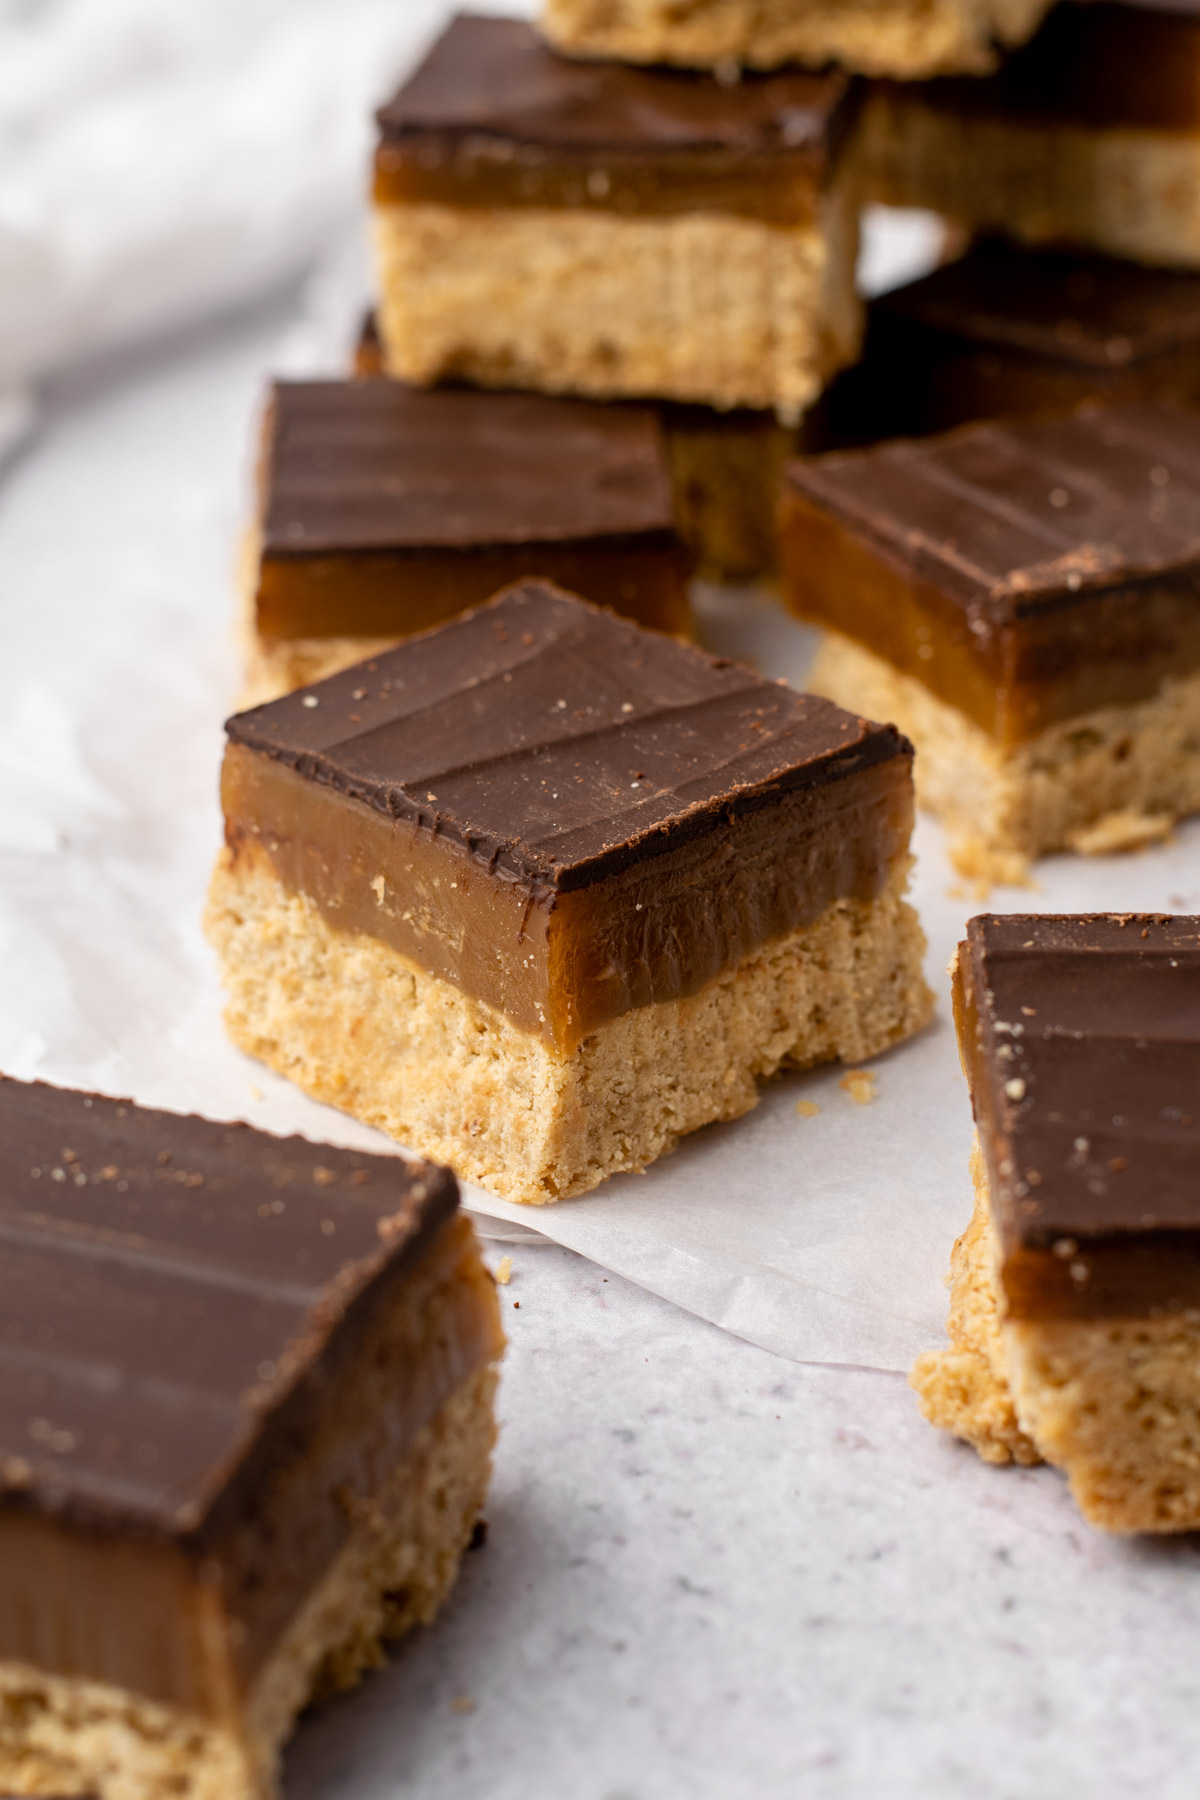
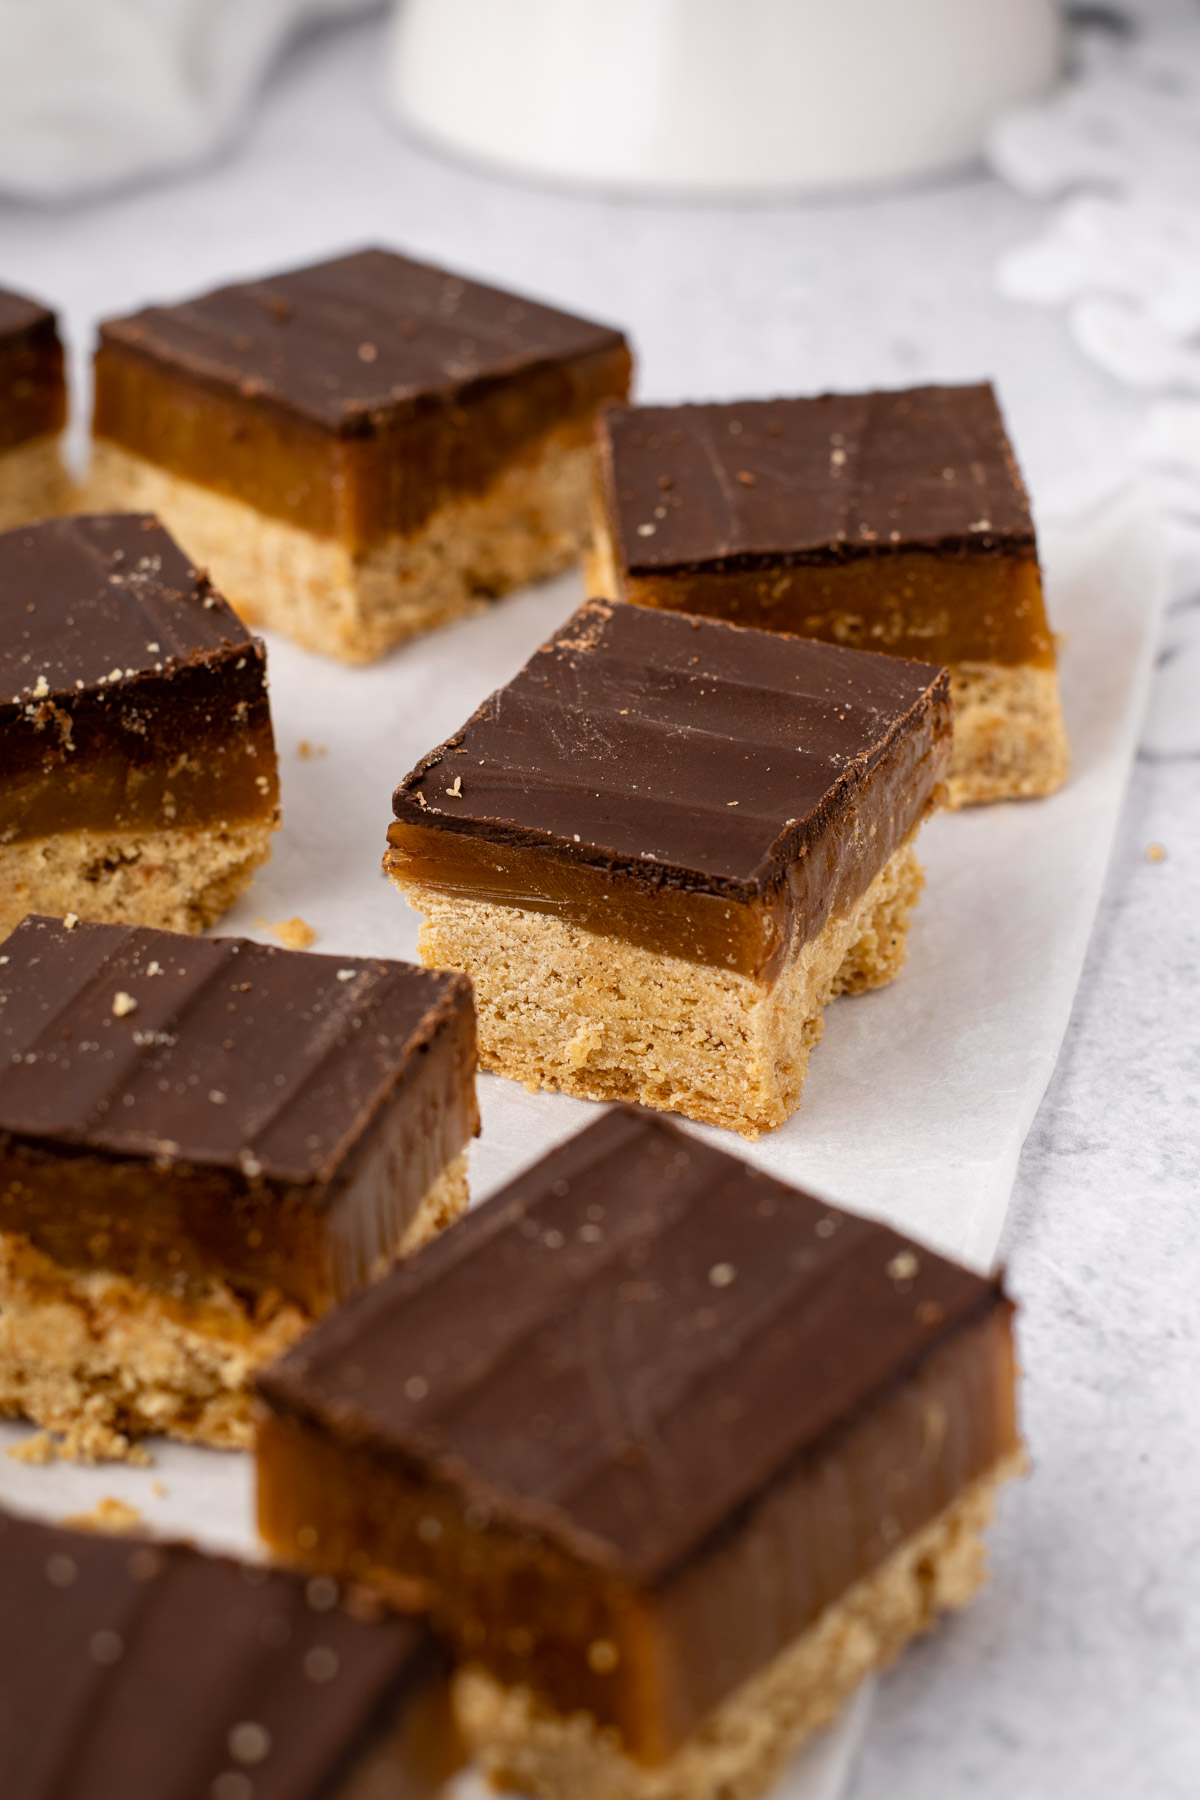
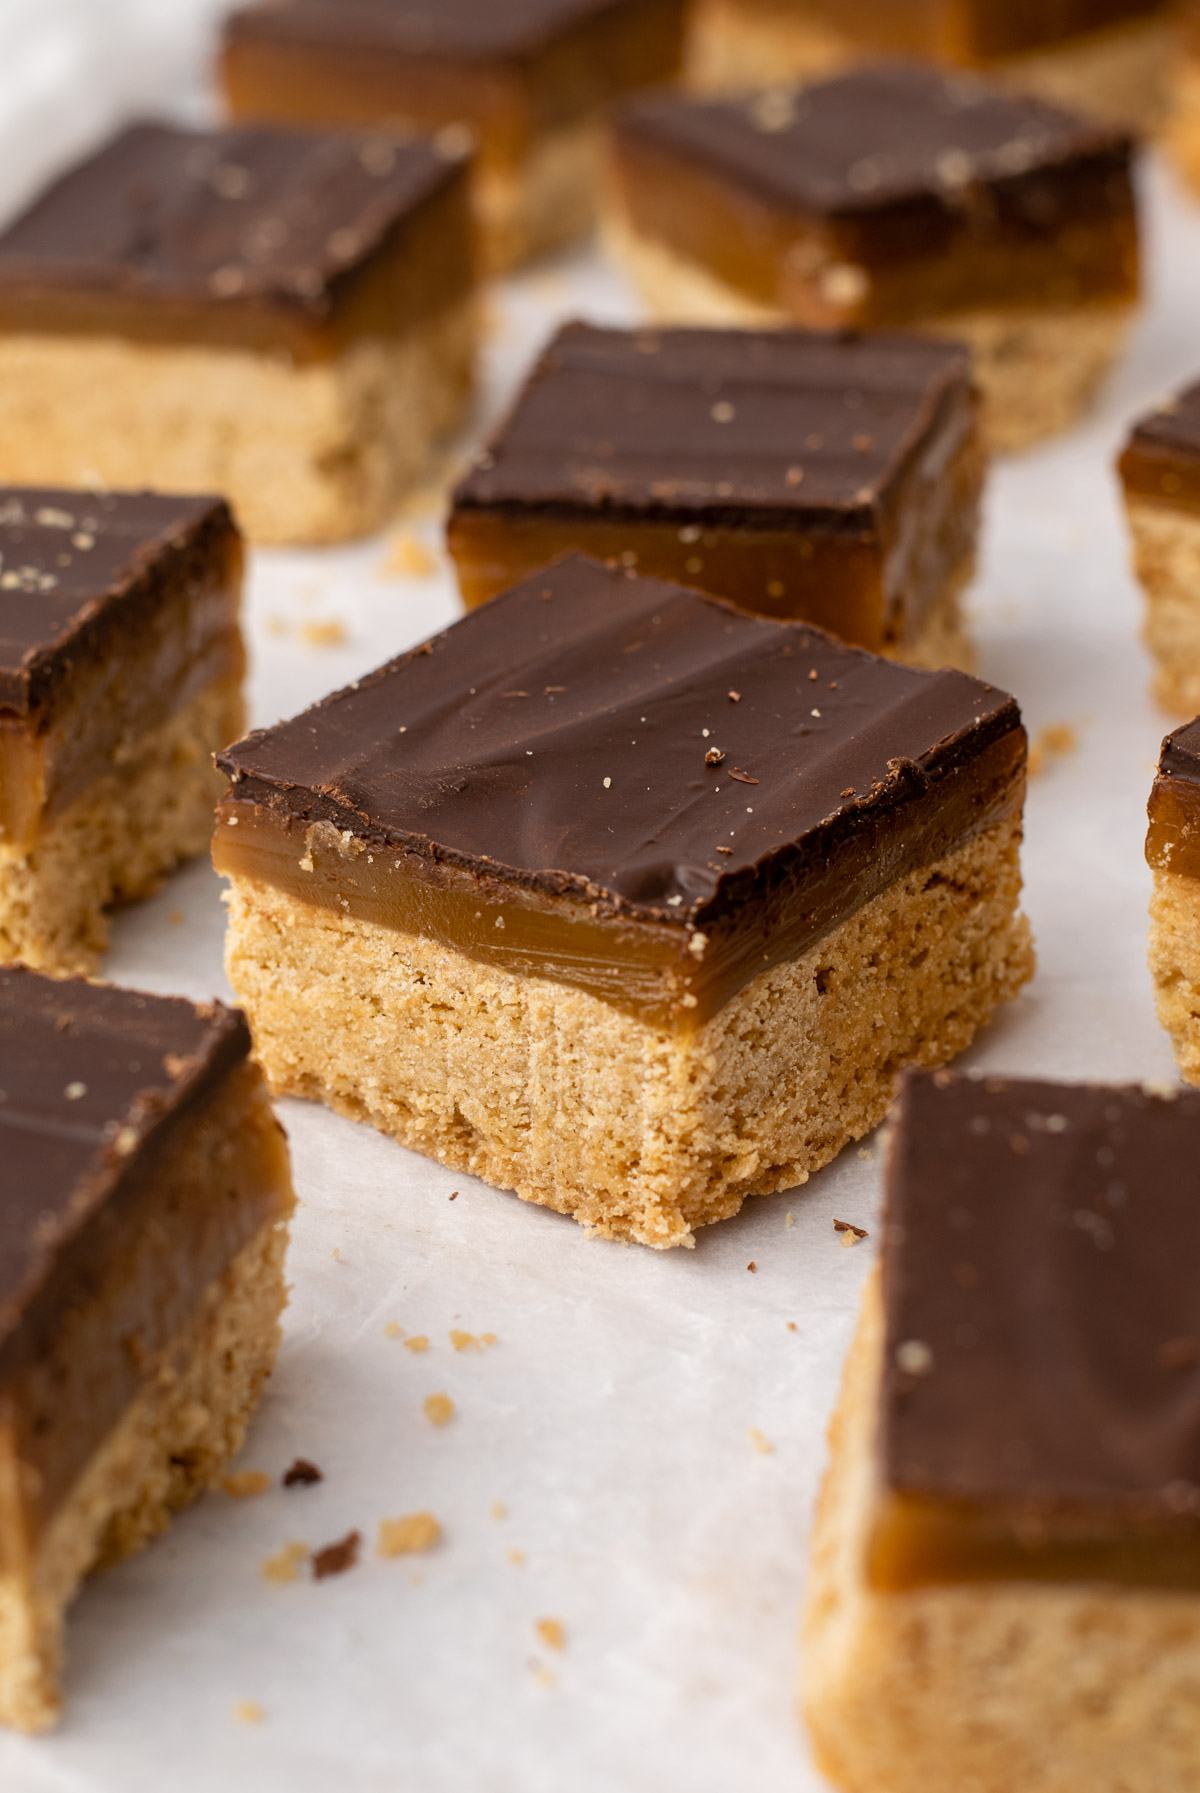
With a thick shortbread base, gooey homemade caramel centre, and crisp chocolate top, this gluten-free and dairy-free millionaire shortbread is the rich and decadent dessert of your dreams.

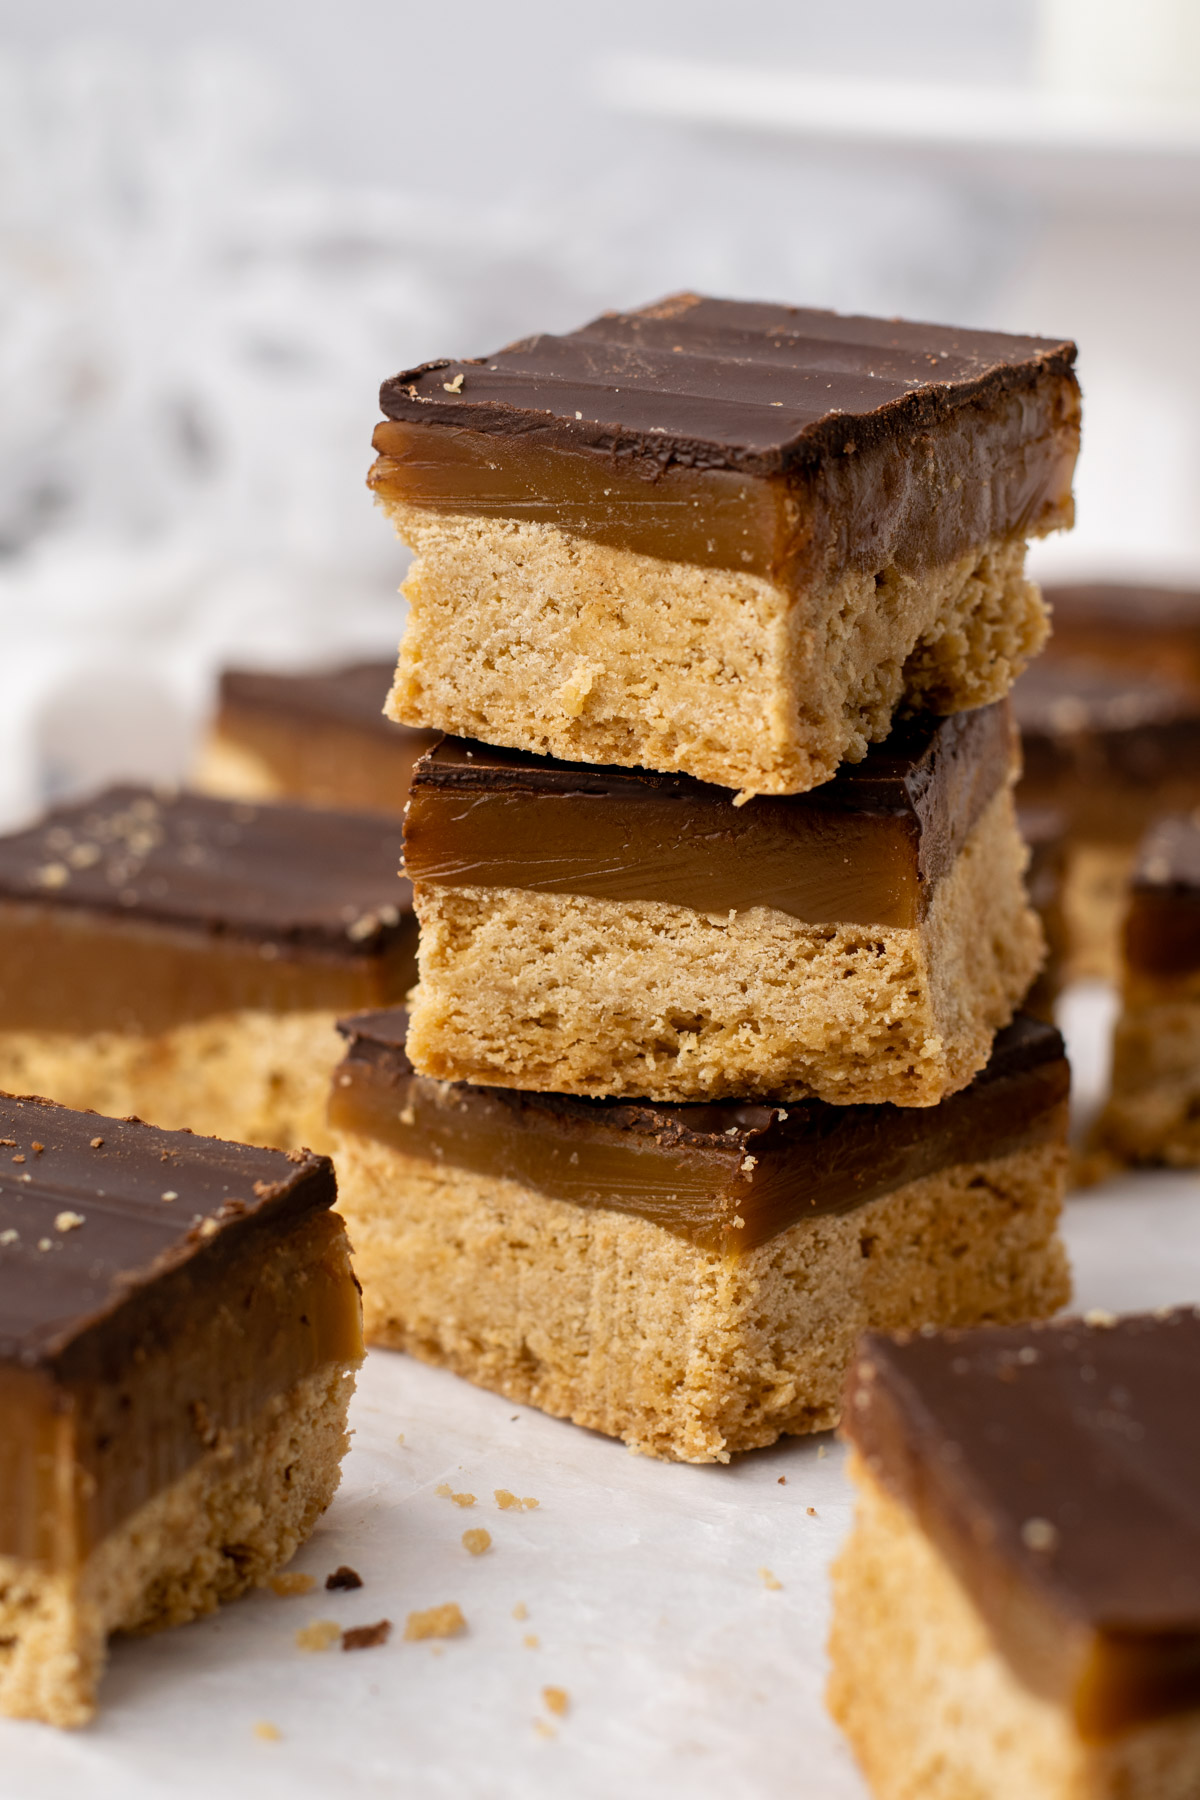
Millionaire shortbread is a rich and decadent dessert consisting of a shortbread base, gooey caramel centre, and crisp chocolate top. This gluten-free and dairy-free millionaire shortbread makes the traditional dessert allergy friendly. It's a holiday classic that will go great with your other cookies and treats. But hey, no one's limiting these to just the holidays. 😉
A crisp "buttery" gluten-free shortbread topped with a homemade soft caramel, topped again with a layer of dairy-free chocolate... what could be better? It's like a homemade twix bar, but bigger, better, and gluten and dairy-free.
Be sure to read this entire blog post for all of my tips and tricks for success, ingredient substitutions, and important techniques. I can't wait for you to make these ones! Keep reading to learn how to make your own gluten and dairy-free millionaire shortbread.
Looking for more gluten-free cookies & bars? Check out some of these:
- Super Fudgy Dairy-Free Brownies
- Gluten-Free Matcha Shortbread Cookies
- Gluten-Free Butter Tarts
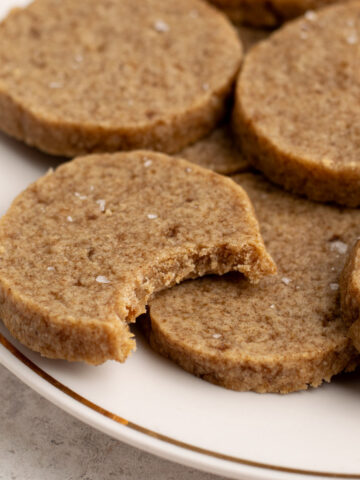
- Gluten-Free Shortbread Cookies
Jump to:
What is Millionaire Shortbread?
Millionaire shortbread is a dessert believe to have originated in Scotland. It traditionally features a shortbread base, thick caramel centre, and a chocolatey top. The classic term, millionaire shortbread, is believed to come from the rich and decadent qualities of this dessert. One square is certainly enough! Alternative names include: caramel square, caramel bar, and twix bars.
Why You'll Love This Recipe
- Rich and decadent. With 3 layers of deliciousness, these millionaire shortbread sure are a treat.
- Allergy-friendly. This recipe is gluten-free, dairy-free, vegan, and nut-free. Perfect for sharing!
- Super impressive. These squares are beautiful and delicious. Your friends and family will be so impressed that you've made these yourself.
Ingredients Needed
Here is everything you'll need to make these gluten-free and dairy-free millionaire shortbread:

Shortbread base
- Dairy-free salted butter: You want the butter to be softened but still cool, as many dairy-free butters can get too soft with too much time out of the fridge. Since dairy-free butter is often made from plant-based oils, it can lack the distinct buttery flavour of shortbread. Use the butteriest dairy-free butter you can find, such as the brick of Becel plant based (not in the tub). If using unsalted butter, add ¼ teaspoon salt to the dough with the flour. Of course if you are not dairy-free, feel free to use regular butter.
- Brown sugar: The ultimate sugar for shortbread. Adds a nice depth of flavour and golden colour.
- Gluten-free all-purpose flour with xanthan gum: I use Bob's Red Milll 1:1 Baking Flour (blue bag). Depending on the consistency of your dairy-free butter
Caramel
- Sweetened condensed coconut milk: This is a very important ingredient for the texture, colour, and flavour of the caramel. Believe me, I tried to create a vegan caramel without it, and it just didn't work! There are a few brands out there that make this product, and I love the Nature's Charm sweetened condensed coconut milk. I find it at my local health food store, or online. Of course, if you are just gluten-free and not dairy-free, feel free to use regular sweetened condensed milk, but note that you use the same quantity!
- Brown sugar: Gives the caramel great colour and an extra depth of flavour.
- Light corn syrup: I know that this is a bit of an obscure ingredient you may not have, but trust me it's mandatory. Corn syrup is what's known as an invert sugar, and it helps to stabilize the sugars in the caramel. Basically, it will ensure the caramel stays soft and chewy when finished, as opposed to a hard caramel brittle. So it's super important! The only substitutions would be brown rice syrup or golden syrup.
- Dairy-free salted butter: If using unsalted butter, add an extra ¼ teaspoon salt to the caramel.
- Vanilla extract: Gives a nice, sweet vanilla flavour to the caramel.
- Salt: This caramel is not overly salty, but a good helping of salt helps to balance the strong sweetness.
Chocolate
- Chopped chocolate or chocolate chips: I recommend using dark or semisweet, although you can change it up here and use a combination if you want. Some people also like to swirl white chocolate on the top of their millionaire shortbread.
Equipment Needed
- Stand or hand mixer: For beating the butter and sugar together.
- 8x8" or 9x9" pan: This recipe is designed for a pan of this size.
- Probe or candy thermometer: This is extremely important for making the caramel. You cannot accurately make a caramel consistently without a thermometer. The caramel must be boiled to exactly 245ºF to reach the desired texture. Without a thermometer, you're just playing a guessing game and the dessert may not turn out!

Step-by-Step Instructions
Be sure to read the recipe card below for the full ingredient list and instructions.
Make the shortbread
(Prep) Prepare a square baking dish with parchment paper (8x8" or 9x9"). I use an 8x8" pan for thicker bars. Ensure the parchment covers the bottom and sides of the dish.
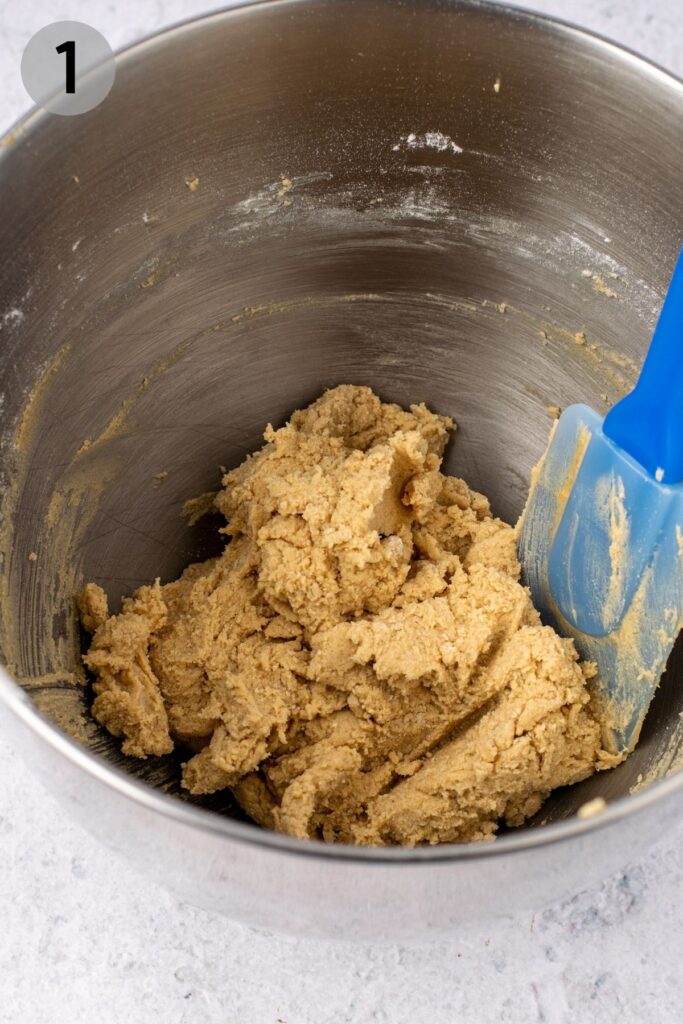
(1) In the bowl of a stand mixer with the paddle attachment (or a large bowl with a hand mixer), beat together the dairy-free butter and brown sugar on medium speed until smooth, about 3-4 minutes. Scrape down the sides of the bowl as needed. Gradually mix in the flour, ½ cup at a time. Start on low then increase to medium speed. Mix just until combined.
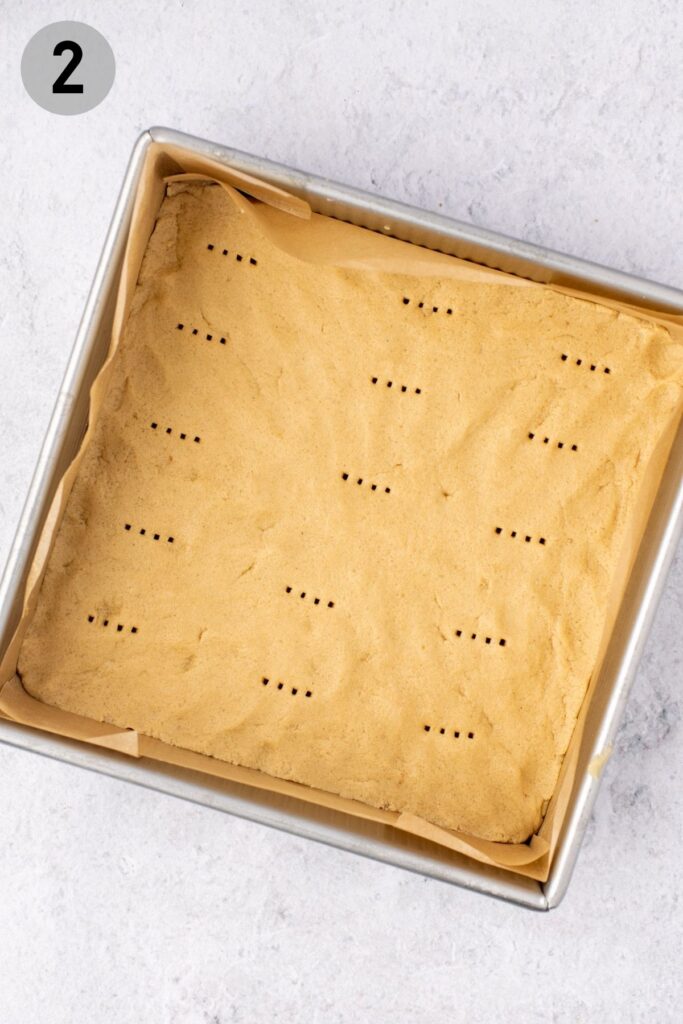
(2) Transfer the shortbread dough to the parchment-lined baking dish. Use your hands or an offset spatula to spread out the dough to evenly cover the bottom of the dish. Use a fork to prick all over the shortbread to prevent air bubbles. Place the baking dish in the fridge to chill for about 30 minutes. When 10 minutes remain, preheat the oven to 350°F.
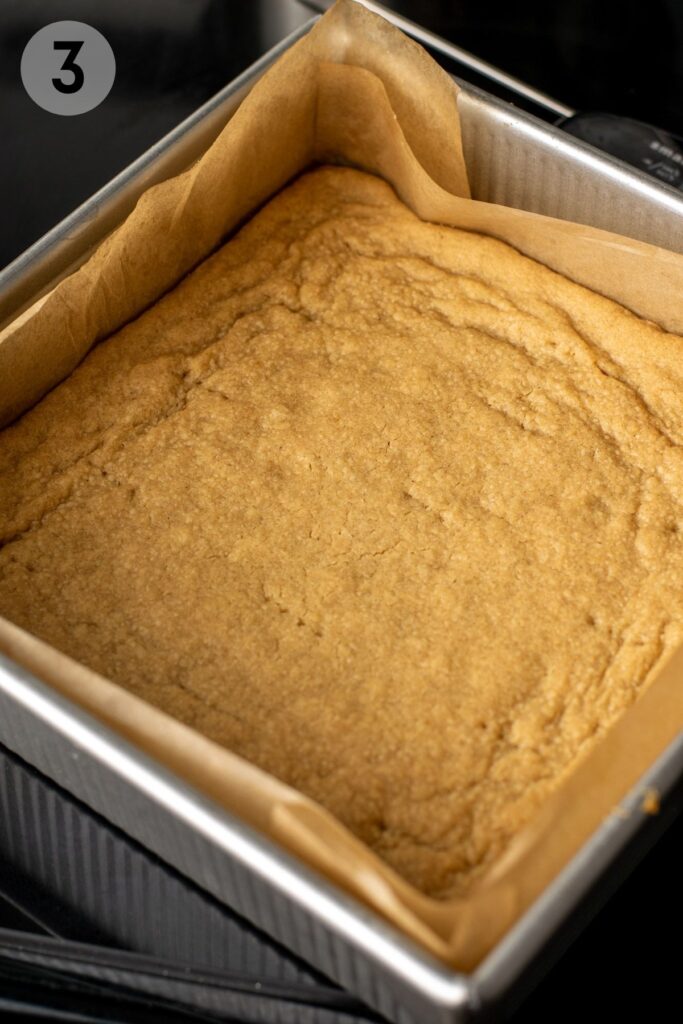
(3) Bake the chilled shortbread for 24-27 minutes until golden. Allow to cool to room temperature, at least 1 hour, before moving onto the caramel.
Make the caramel
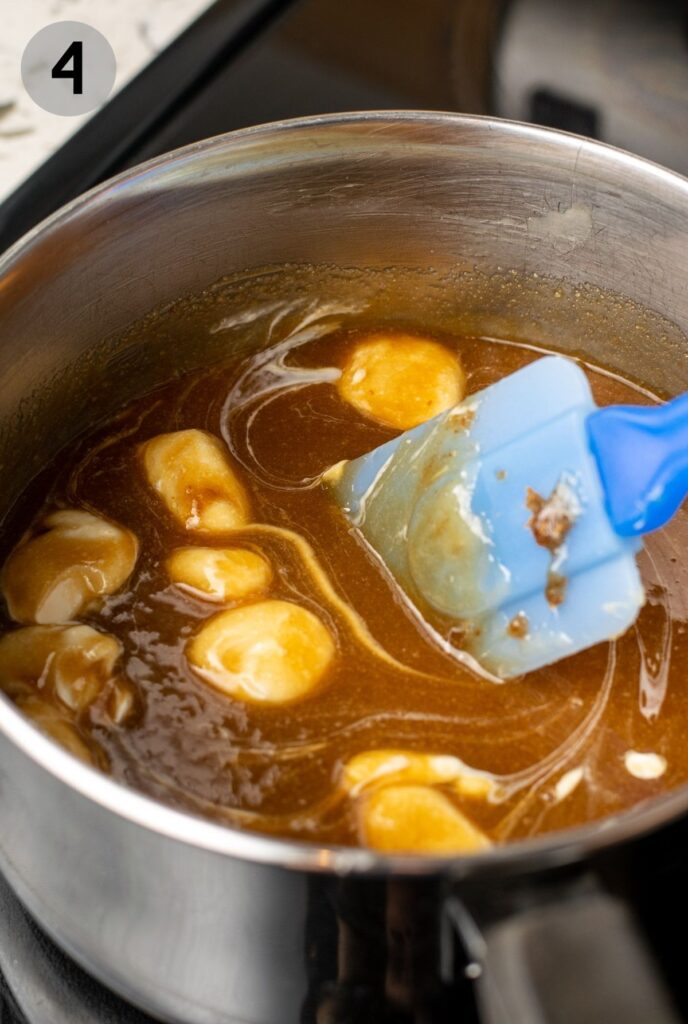
(4) Place all of the caramel ingredients into a medium-size saucepan. The caramel will bubble and increase in volume so ensure you have extra space in the pot. Turn the heat to medium-low just to melt all of the ingredients together. Stir occasionally with a rubber spatula. This may take 5-10 minutes and there should be no bubbling.
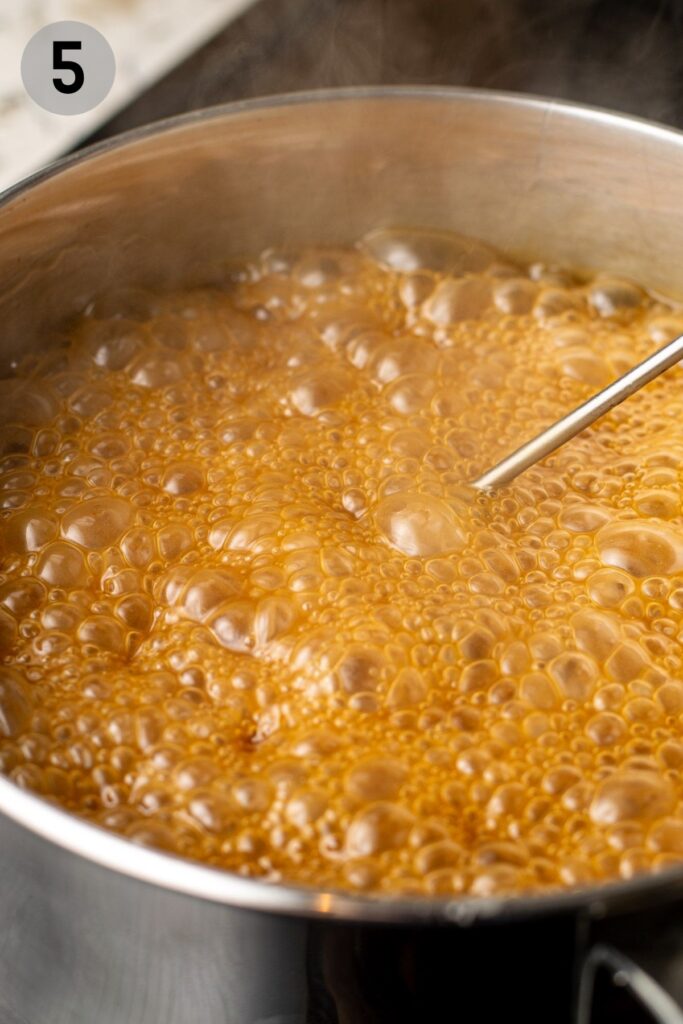
(5) Once everything is melted together, turn the heat up to just above medium. In a few minutes the mixture should start to bubble. The caramel will bubble, darken, and increase in volume. Use your probe or candy thermometer to constantly check the temperature.
Boil the caramel, stirring often, until it reaches 245°F. This could take 10-15 minutes. The caramel will stall around 225°F and that is normal. Just keep stirring and waiting and it will increase quickly after.
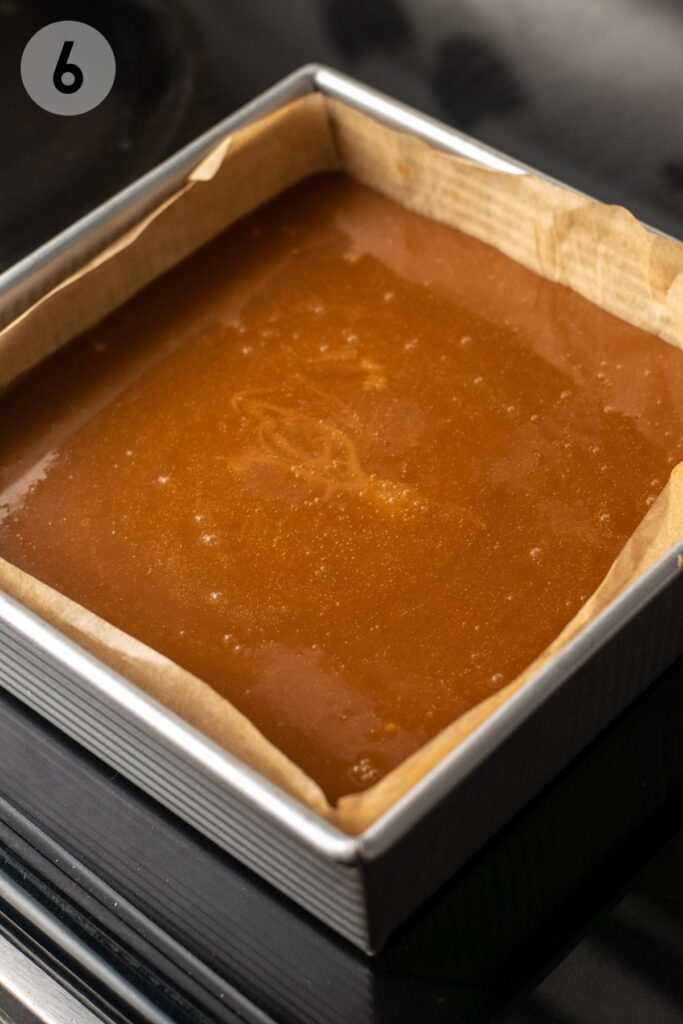
(6) Once the caramel reaches 245°F, remove from the heat, stir until the bubbles subside, and pour onto the shortbread base inside the baking dish. Spread out the caramel with a spatula if you need to, and refrigerate for at least 1 hour.
Melt the chocolate
Ideally, you want the chocolate top to be tempered, so that it has a nice snap when you bite into it. If you are familiar with tempering chocolate, use the method you are most comfortable with. This easy microwave tempering method was learned from Sugar Geek Show.
Place the chocolate in a plastic or silicone bowl and microwave for 30 seconds. Stir well with a spoon or rubber spatula. Microwave for another 30 seconds, then 15, then 10, then 10 seconds, stirring well in between each heating. The most important thing is that the chocolate does not go above 90ºF. Use a candy or probe thermometer to check the temperature of the middle of the melted chocolate. If it is ever too hot, keep stirring to incorporate air, and add a few pieces of un-melted chocolate to cool it down.
If necessary, continue with 10 second intervals, stirring and checking the temperature, until smooth. Use the back of your spoon or spatula to spread some melted chocolate on a piece of parchment paper. If it starts to solidify in a few minutes, then your chocolate is good to use.
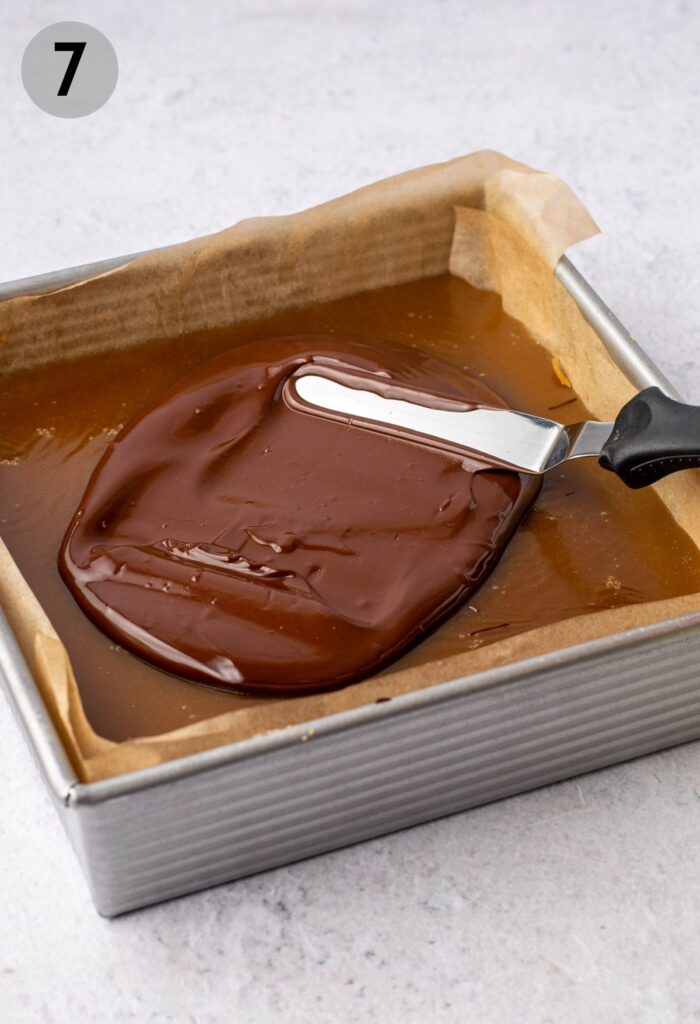
(7) Pour the tempered chocolate onto the chilled caramel layer, still inside the baking dish. Use an offset spatula to spread out the chocolate. Refrigerate the baking dish for at least 2 hours until everything is set, or overnight.

Slice into bars
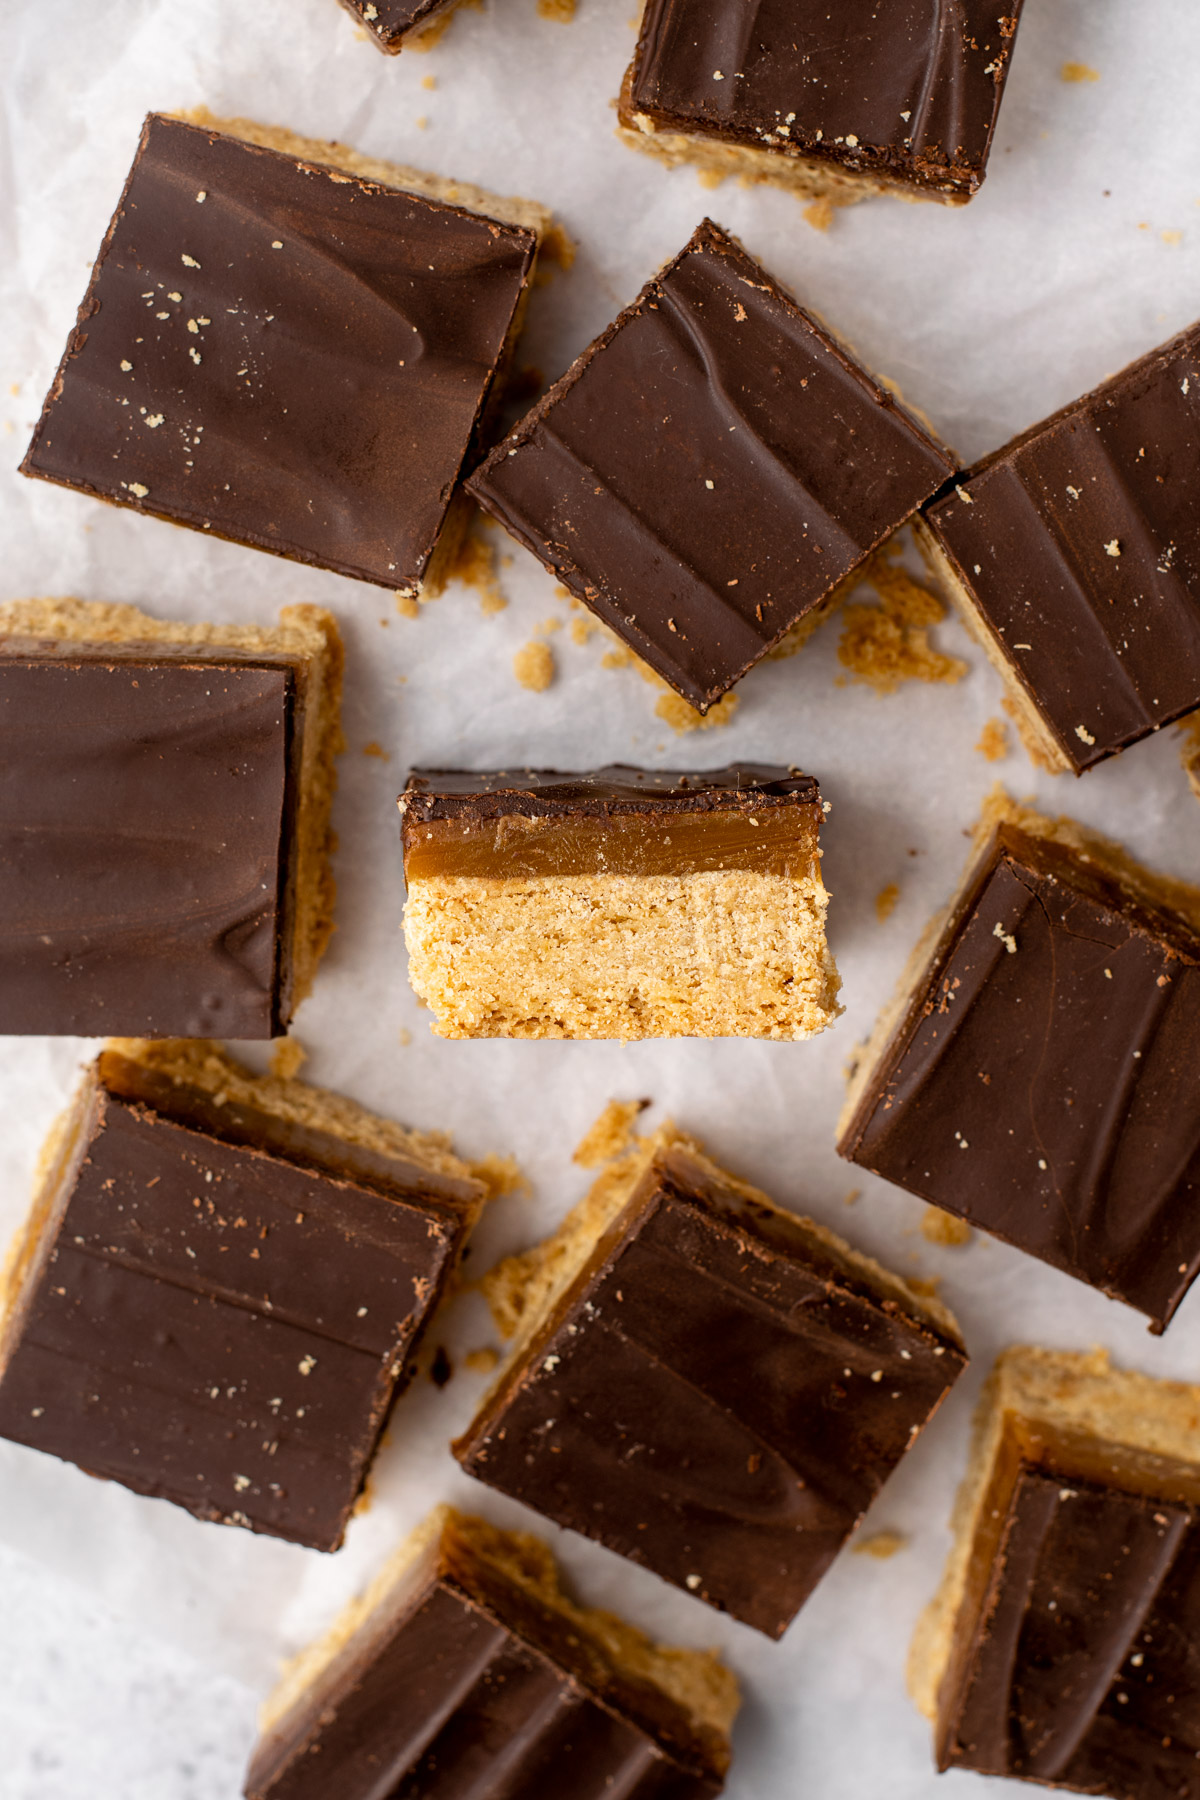
(8) You want to make sure the millionaire shortbread is nice and chilled before slicing it. The best way to get clean slices is to run a large, sharp knife under hot water for a few seconds. Dry the knife, then make a slice. Clean the knife off, then repeat with the hot water for each slice. Gently saw the top of the chocolate layer so you don't crack it, then slice firmly down the rest of the layers.
Slice into 16 squares for large servings, or cut each square in half for 32 smaller servings. Enjoy! See storage instructions below.
Storage & Freezing Instructions
Make-Ahead Instructions: Millionaire shortbread bars are a great make-ahead dessert, as they do require significant cooling and chilling time. It is recommended to prepare the bars the day before you serve them, so they can firm up.
Storage Instructions: Millionaire shortbread bars are best kept in the fridge for up to 5 days. Allow to sit at room temperature for 10-30 minutes before serving so the caramel can soften slightly. The bars can last at room temperature for a few hours, but note that any longer and the caramel may ooze out slightly.
Freezing Instructions:Millionaire shortbread bars can be frozen in an airtight container for up to 2 months. To thaw, place the container in the fridge overnight. Before serving, allow the shortbread to sit at room temperature for 10-30 minutes.
Customizations
Here are a few suggestions if you're looking to make customizations to this recipe:
- Dairy: If you are only gluten-free and not dairy-free, feel free to use regular dairy in this recipe. Use butter and sweetened condensed milk, but keep the quantities the same as written.
- Corn syrup: As mentioned in the ingredients section, corn syrup is an integral ingredient in making a soft caramel like in these millionaire shortbread bars. Corn syrup is an invert sugar that stabilizes the sugars in the caramel, ensuring a desirable soft chew. The only other invert sugars that could be used in its place are brown rice syrup or golden syrup. No, honey or maple syrup will not work.
- Chocolate: Use your favourite chocolate here. Dark, semisweet, milk, white, a swirl of multiple... take your pick. Note that tempering milk and white chocolate requires lower temperatures. Read the article from Sugar Geek Show here.
Expert Tips
Here are some of my top tips and tricks for successful gluten-free and dairy-free millionaire shortbread:
- Beat the butter and sugar for several minutes. This will allow the sugar to properly dissolve in the dairy-free butter, resulting in an even bake.
- Don't walk away from the caramel! Once the ingredients are melted together, things happen fast. The caramel will bubble a lot so be careful—it's hot! It will stall a bit around 225ºF so be patient and stir occasionally. Keep checking the temperature and once you reach 245ºF, remove from the heat. The total process may take 15-20 minutes, so be patient and be careful, you don't want to burn the caramel or yourself.
- Follow the chocolate tempering instructions. This is my recommendation for a good snap on top of the bars, but if tempering is too much for you (my instructions make it super easy!) then simply melt the chocolate in the method you normally would. Note that the chocolate may be soft and transfer to your fingers.
- Don't skip the chill times. Seriously. These bars have quick prep times but longer chill times, and it's important in achieving the ultimate millionaire shortbread. Chill the shortbread before and after baking, after adding the caramel, and after adding the chocolate. Chilling between each layer will help you achieve the distinct layers, and the final chill will ensure you can slice the bars cleanly. This is why I recommend making these gluten-free millionaire shortbread the day before you plan to serve them.
- Slice with a warm knife. The best way to get clean slices is to run a large, sharp knife under hot water for a few seconds. Dry the knife, then make a slice. Clean the knife off, then repeat with the hot water for each slice. Gently saw the top of the chocolate layer so you don't crack it, then slice firmly down the rest of the layers.
Frequently Asked Questions
Millionaire shortbread is a dessert traditionally featuring a shortbread base, caramel centre, and chocolatey top. The name refers to the fact that the dessert is extremely rich and decadent.
Yes, in fact, if you are making the gluten-free and dairy-free version of this recipe, it is inherently vegan. Ensure your butter, condensed milk, and chocolate are all dairy-free.
I like to use the Nature's Charm sweetened condensed coconut milk. I get it from my local health food store (Nature's Emporium or Goodness Me), or online.
The caramel is done once it boils and reaches 245ºF. This is why it's extremely important to use a probe or candy thermometer when making the caramel. You will not be able to tell when it's done without one!
Yes. Chill the shortbread before and after baking, after adding the caramel, and after adding the chocolate. Chilling between each layer will help you achieve the distinct layers, and the final chill will ensure you can slice the bars cleanly. This is why I recommend making these gluten-free millionaire shortbread the day before you plan to serve them.
The best way to get clean slices is to run a large, sharp knife under hot water for a few seconds. Dry the knife, then make a slice. Clean the knife off, then repeat with the hot water for each slice. Gently saw the top of the chocolate layer so you don't crack it, then slice firmly down the rest of the layers.
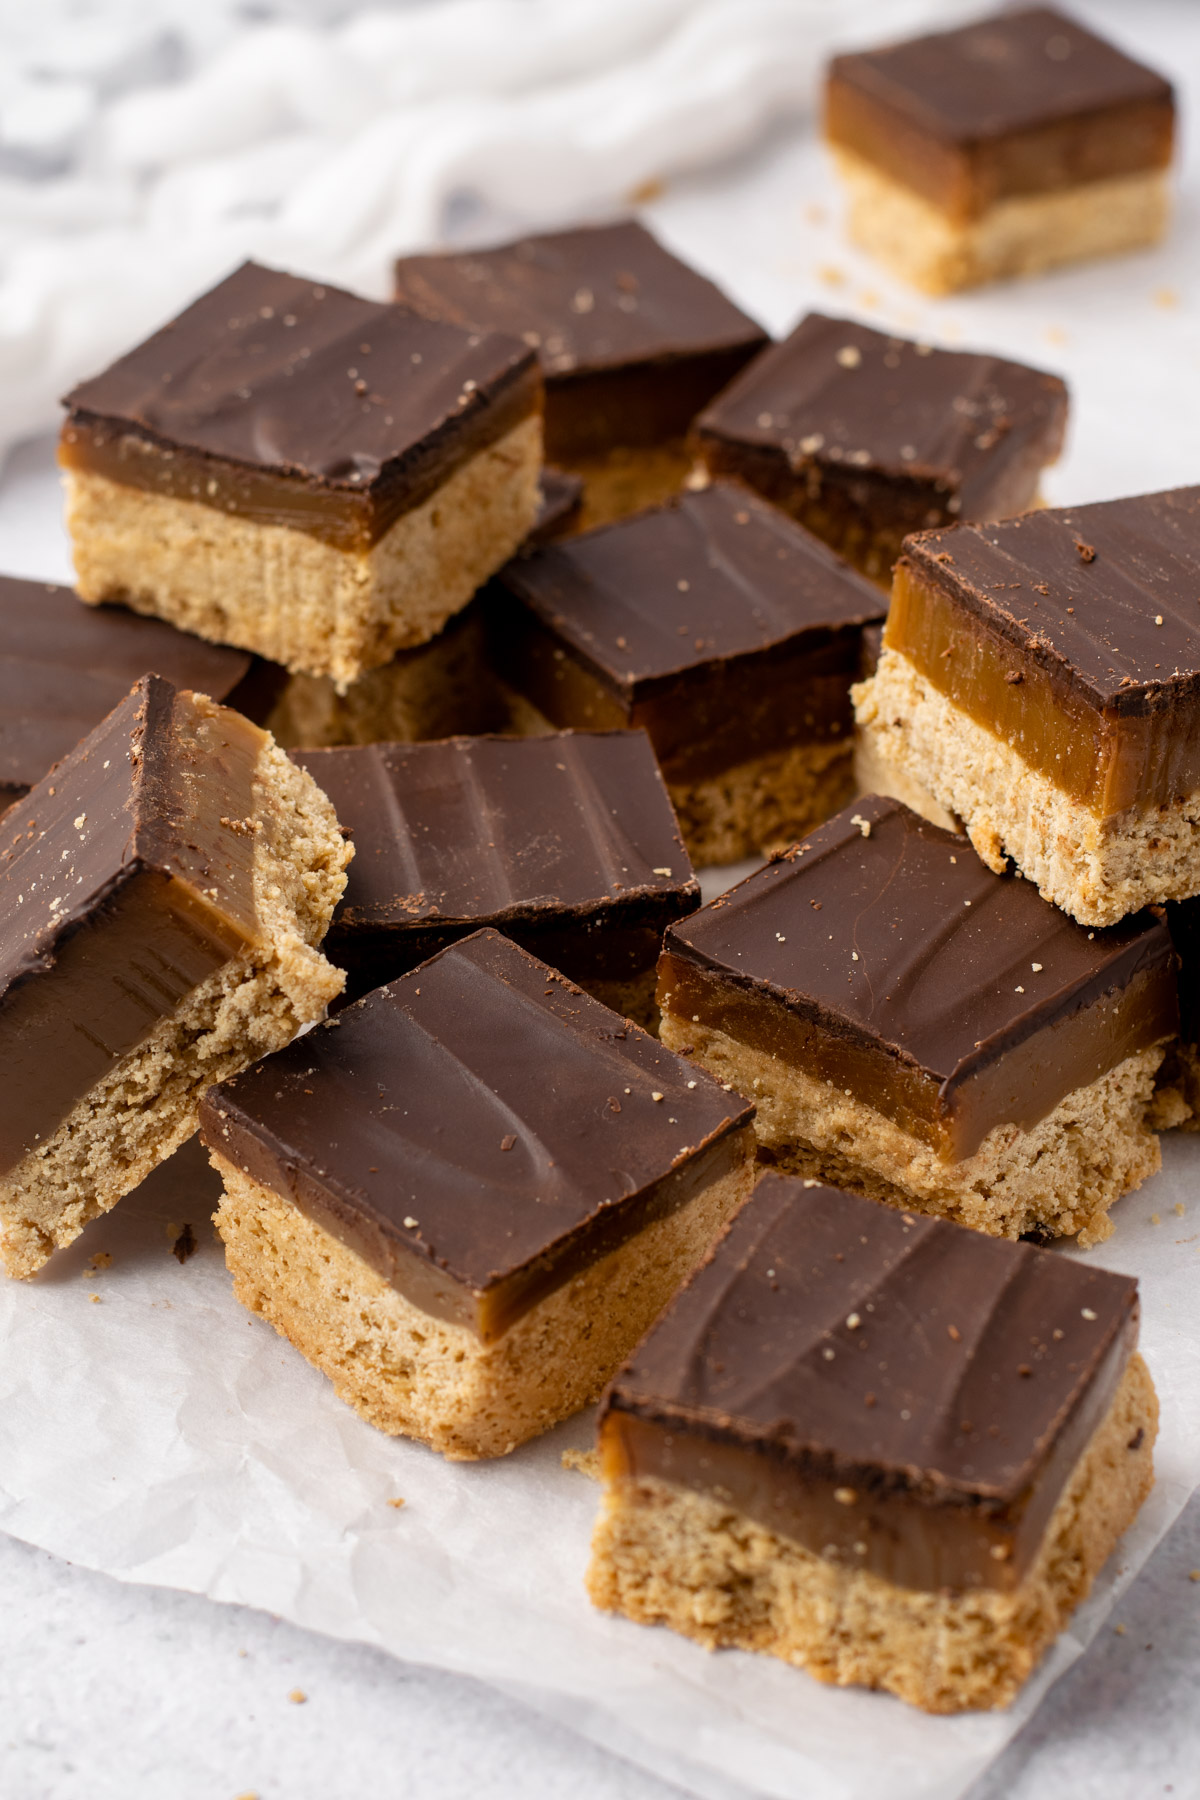
These gluten-free and dairy-free millionaire shortbread bars are the rich and decadent dessert of your dreams. A creamy shortbread base, gooey caramel, and crisp chocolate top come together in this delicious allergy-friendly dessert. They will be worth the time and effort when you enjoy them with friends and family and hear their rave reviews!
Have you made these gluten-free and dairy-free millionaire shortbread squares? I would love if you leave a 5-star review below and tag me on instagram @fromoliviaskitchen. I hope you enjoy as much as I do!
More Desserts You'll Love


Recipe

Gluten-Free Millionaire Shortbread (Dairy-Free)
Equipment
- Stand or hand mixer
- 8x8" or 9x9" pan
- Probe thermometer
Ingredients
Shortbread base
- ¾ cup (dairy-free) salted butter, softened but cool If using unsalted butter, add ¼ teaspoon salt to the dough with the flour
- ½ cup brown sugar, packed
- 1½ cup gluten-free all-purpose flour with xanthan gum I use Bob's Red Milll 1:1 Baking Flour (blue bag)
Caramel
- 250 ml can sweetened condensed coconut milk
- 1 cup brown sugar, packed
- ¼ cup light corn syrup
- ½ cup (dairy-free) salted butter, softened and cubed If using unsalted butter, add an extra ¼ teaspoon salt
- 2 teaspoon vanilla extract
- ¼ teaspoon salt
Chocolate
- ¾ cup chopped chocolate or chocolate chips dark or semisweet
Instructions
Make the shortbread
- Prepare a square baking dish with parchment paper (8x8" or 9x9"). I use an 8x8" pan for thicker bars. Ensure the parchment covers the bottom and sides of the dish.
- In the bowl of a stand mixer with the paddle attachment (or a large bowl with a hand mixer), beat together the dairy-free butter and brown sugar on medium speed until smooth, about 3-4 minutes. Scrape down the sides of the bowl as needed. Gradually mix in the flour, ½ cup at a time. Start on low then increase to medium speed. Mix just until combined.
- Transfer the shortbread dough to the parchment-lined baking dish. Use your hands or an offset spatula to spread out the dough to evenly cover the bottom of the dish. Use a fork to prick all over the shortbread to prevent air bubbles. Place the baking dish in the fridge to chill for about 30 minutes. When 10 minutes remain, preheat the oven to 350°F.
- Bake the chilled shortbread for 24-27 minutes until golden. Allow to cool to room temperature, at least 1 hour, before moving onto the caramel.
Make the caramel
- Place all of the caramel ingredients into a medium-size saucepan. The caramel will bubble and increase in volume so ensure you have extra space in the pot. Turn the heat to medium-low just to melt all of the ingredients together. Stir occasionally with a rubber spatula. This may take 5-10 minutes and there should be no bubbling.
- Once everything is melted together, turn the heat up to just above medium. In a few minutes the mixture should start to bubble. The caramel will bubble, darken, and increase in volume. Use your probe or candy thermometer to constantly check the temperature. Boil the caramel, stirring often, until it reaches 245°F. This could take 10-15 minutes. The caramel will stall around 225°F and that is normal. Just keep stirring and waiting and it will increase quickly after. Once the caramel reaches 245°F, remove from the heat, stir until the bubbles subside, and pour onto the shortbread base inside the baking dish. Spread out the caramel with a spatula if you need to, and refrigerate for at least 1 hour.
Melt the chocolate
- Ideally, you want the chocolate top to be tempered, so that it has a nice snap when you bite into it. If you are familiar with tempering chocolate, use the method you are most comfortable with. This easy microwave tempering method was learned from Sugar Geek Show (see link in blog post).
- Place the chocolate in a plastic or silicone bowl and microwave for 30 seconds. Stir well with a spoon or rubber spatula. Microwave for another 30 seconds, then 15, then 10, then 10 seconds, stirring well in between each heating. The most important thing is that the chocolate does not go above 90ºF. Use a candy or probe thermometer to check the temperature of the middle of the melted chocolate. If it is ever too hot, keep stirring to incorporate air, and add a few pieces of un-melted chocolate to cool it down. If necessary, continue with 10 second intervals, stirring and checking the temperature, until smooth. Use the back of your spoon or spatula to spread some melted chocolate on a piece of parchment paper. If it starts to solidify in a few minutes, then your chocolate is good to use.
- Pour the tempered chocolate onto the chilled caramel layer, still inside the baking dish. Use an offset spatula to spread out the chocolate. Refrigerate the baking dish for at least 2 hours until everything is set, or overnight.
Slice into bars
- You want to make sure the millionaire shortbread is nice and chilled before slicing it. The best way to get clean slices is to run a large, sharp knife under hot water for a few seconds. Dry the knife, then make a slice. Clean the knife off, then repeat with the hot water for each slice. Gently saw the top of the chocolate layer so you don't crack it, then slice firmly down the rest of the layers. Slice into 16 squares for large servings, or cut each square in half for 32 smaller servings. Enjoy! See storage instructions below.
Comments
No Comments